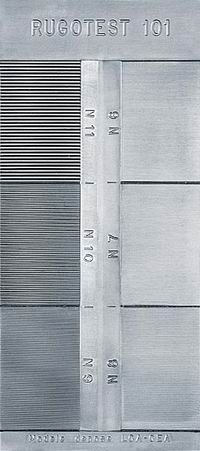
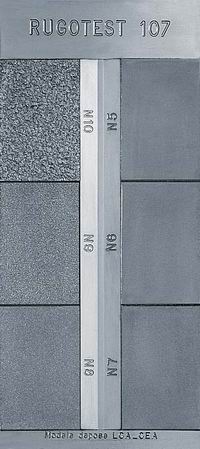
A set of roughness comparison samples for individual metal working methods according to ISO roughness parameters
- Production:
- Hexagon MI TESA (Switzerland)
Meets the requirements of DIN 4769 part 1 and part 2.
Material: corrosion-resistant nickel.
Samples for roughness comparison are not calibration samples. They can not be used to calibrate surface quality control devices.
Supplied in a leather case.

- A set of roughness comparison samples for individual metal working methods according to ISO roughness parameters
| Type | Purpose | RUGOTEST № | number of separate samples | Roughness parameters according to ISO |
| 81.112346 | RUGOTEST kit | А4 | ||
| consists of next separated samples: | ||||
| 81.112053 | Metalworking | 1 | 27 | N2 to N10 |
| 81.112054 | Hand grinding | 2 | 6 | N6 to N11 |
| 81.112055 | Shot blasting | 3 | 18 | N6 to N11 |
| 81.112056 | Manual filing | 4 | 6 | N6 to N8 |
| 81.112345 | RUGOTEST kit | А6 | ||
| consists of next separated samples: | ||||
| 81.112058 | Planing | 101 | 6 | N6 to N11 |
| 81.112059 | Turning | 102 | 6 | N5 to N10 |
| 81.112060 | Face milling | 103 | 6 | N5 to N10 |
| 81.112061 | Surface grinding | 104 | 8 | N1 to N8 |
| 81.112062 | Cylindrical grinding | 105 | 8 | N1 to N8 |
| 81.112063 | Spark erosion | 107 | 6 | N5 to N10 |

- Set of roughness comparison samples RUGOTEST 107


